
| KEY TAKEAWAYS |
|---|
| • A universal wiring harness kit replaces every chassis circuit from a single fused panel. It is the foundation for every other electrical upgrade in a classic car. |
| • Count your circuits before you shop. Add every accessory you plan to install, then leave spare circuits for the ones you have not thought of yet. |
| • Direct-fit harnesses reuse factory routing and connectors for a specific vehicle. Universal kits suit custom builds, engine swaps, and heavily modified cars. |
| • Most electrical gremlins in classic cars are ground problems. Plan dedicated grounds for the engine, body, and frame before the first wire goes in. |
| • Hot Rod Hardware stocks American Autowire universal and direct-fit wiring kits, plus fuses, switches, and grounding kits. |
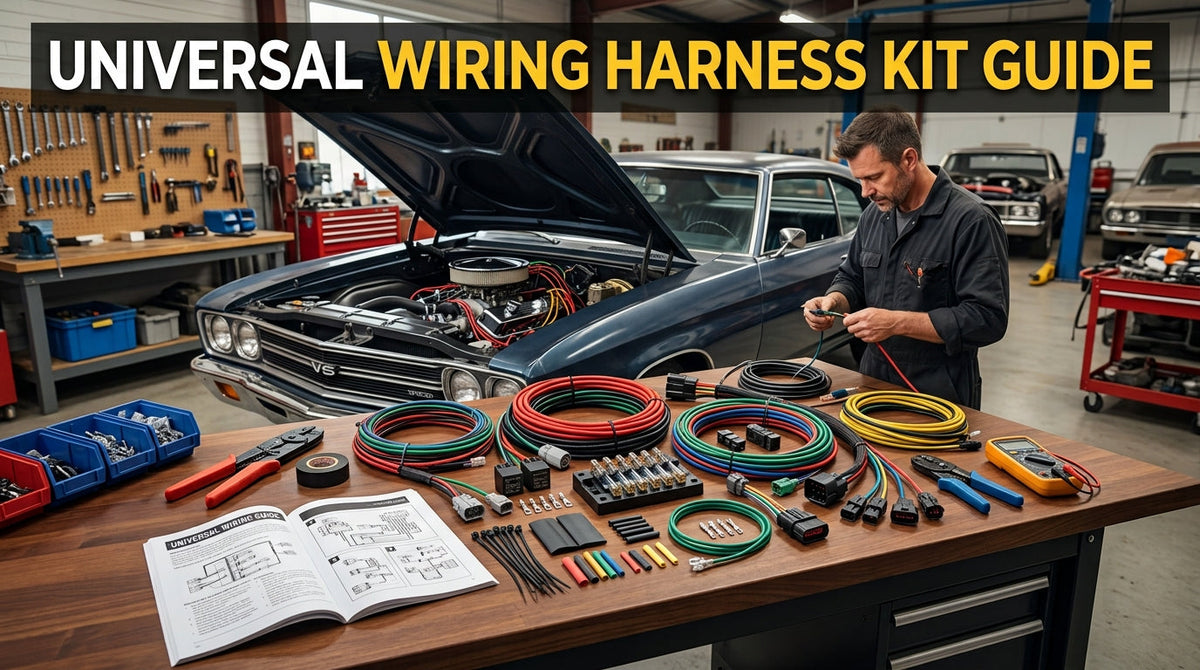
A wiring harness kit is the single upgrade that makes every other electrical change in a classic car safer and easier. Factory harnesses from the 1950s through the 1970s were built for a handful of circuits, used glass fuses and PVC insulation, and have had decades to crack, corrode, and collect splices. A new universal harness gives you a modern fuse panel, labeled wires, and room for the accessories you actually run today. This guide covers how to count circuits, how to choose between universal and direct-fit kits, what wire gauge and insulation to look for, and the install order that keeps the job manageable.
Universal vs. Direct-Fit Wiring Harness Kits
A universal harness ships with long, labeled wires and a fuse panel, and you cut each circuit to length for your car. It works in any vehicle, which makes it the right choice for hot rods, rat rods, engine swaps, and builds where little of the original layout survives.
Direct-fit wiring kits are built for a specific make, model, and year. They follow factory routing and plug into factory-style connectors at the headlights, taillights, and switches. If your car keeps its stock dash, lighting, and engine bay layout, a direct-fit kit saves hours of routing and cutting.
| Factor | Universal Kit | Direct-Fit Kit |
|---|---|---|
| Best for | Custom builds, swaps, rat rods | Stock-layout restorations and restomods |
| Install time | Longer: every wire cut and terminated | Shorter: factory routing and plugs |
| Flexibility | Any layout, any accessory | Built around the factory layout |
| Skill level | Comfortable with crimping and planning | Comfortable following a diagram |
How Many Circuits Do You Need?
Universal kits are sold by circuit count, commonly in the range of about 12 to 24 circuits. The number on the box is the number of fused or switched circuits the panel supports. Count yours before you buy.
The base circuits almost every car needs: ignition, starter, charging, headlights (high and low), park and tail lights, brake lights, turn signals and hazards, horn, gauges, and dash lighting. Then add what your build actually has: wipers, heater or A/C blower, radio, dome and courtesy lights, backup lights, power windows or locks, electric cooling fan, electric fuel pump, EFI power, and cruise control.
Add those up, then leave two to four spare circuits. Builds grow, and adding a circuit to a finished panel is far easier when the fuse slot is already there. A 12-circuit kit fits a minimal hot rod. A street-driven car with A/C, power windows, EFI, and an electric fan usually needs a kit in the 20-plus range.
What to Look for in Wire and Panel Quality
Wire insulation
Look for cross-linked insulation such as GXL rather than basic PVC-insulated wire. Cross-linked insulation tolerates higher temperatures and resists abrasion and chemicals better, which matters in an engine bay and anywhere wiring runs near exhaust or a firewall.
Labeling
Every wire should be printed with its function along its length, not just tagged at one end. Once you cut a wire to length, an end tag goes in the trash. Printed wire stays readable for the life of the car.
Fuse panel
Modern panels use blade-style fuses and often include integrated relays for headlights, horn, and fan circuits. Mount the panel where you can reach it later, typically under the dash, and keep it away from heat and water. Stock up on spare fuses in each rating your panel uses.
Wire Gauge, Relays, and High-Draw Circuits
Kits come pre-sized for typical loads, but upgrades change the math. Wire gauge needs to match both the current draw and the length of the run, since longer wires lose more voltage.
Three circuits deserve special attention. The alternator charge wire needs to be sized for your alternator's output; higher-output alternators typically call for heavier charge wire than the kit provides, so follow the alternator manufacturer's recommendation. Electric cooling fans and electric fuel pumps draw enough current that they should run through a relay, with the switch or controller only triggering the relay. EFI systems need clean, dedicated fused power and ground, wired to the EFI maker's instructions.
Headlights benefit from relays too. Running headlight current through relays instead of the dash switch reduces voltage drop and takes load off a switch that was never designed for modern bulbs. If you are converting to LED lighting at the same time, the LED Lighting Conversion Guide covers the flasher change LED turn signals require.
Grounds: Where Most Electrical Problems Start
A circuit is only as good as its return path. Dim lights, gauges that read wrong, and intermittent failures are often bad grounds, not bad components. Paint, powder coat, rubber body mounts, and aluminum-to-steel joints all interrupt the path back to the battery.
Plan grounds as deliberately as power: battery negative to engine block, engine to frame, and frame or engine to body, each with a heavy cable and clean bare-metal contact. Ground the fuse panel and the dash to the same solid point. A grounding kit supplies the cables and terminals in one order.
Installation Order That Keeps the Job Manageable
- Disconnect the battery and remove the old harness completely. Label anything you plan to reuse, such as switches or gauge senders.
- Mount the fuse panel first, then lay out the harness sections: engine, front lighting, dash, and rear.
- Route wires along their final paths before cutting. Use grommets wherever wires pass through the firewall or sheet metal.
- Cut, strip, and crimp with a proper ratcheting crimper and the correct terminals. Seal exposed connections with heat shrink.
- Install grounds before connecting any powered circuit.
- Reconnect the battery through a fuse or test light first, then test each circuit one at a time with a multimeter or test light.
- Loom and secure the harness only after every circuit tests good.
For switch panels, toggles, and ignition switches that pair with a new harness, see switches. If the harness is part of a bigger cabin overhaul, Classic Car Interior Modernization covers gauges and lighting in sequence, and Combining Vintage Style with Modern Electronics covers keeping a period look with modern parts.
Chassis Harness vs. Engine Harness on Swaps
On an LS or other fuel-injected engine swap, the chassis harness and the engine harness are two separate jobs. The universal kit powers lights, gauges, and accessories. The engine or EFI harness runs injectors, sensors, and the computer. Plan where the two connect, usually at an ignition-switched power feed, a constant battery feed, a fuel pump trigger, and a tach signal. The LS Swap Revolution covers the rest of what changes on a swap.
FAQ
What is a universal wiring harness kit?
A universal wiring harness kit is a complete set of chassis wiring with a fuse panel and long, labeled wires that you cut to fit any vehicle. It replaces the factory harness and powers ignition, lighting, gauges, and accessories.
How many circuits do I need in a wiring harness kit?
Count every circuit your car will run, including ignition, charging, lighting, gauges, and accessories like A/C, power windows, electric fan, and fuel pump, then add two to four spares. Minimal hot rods can use around 12 circuits. Fully equipped street cars usually need 20 or more.
Should I buy a universal or direct-fit wiring harness?
Choose direct-fit if your car keeps its factory dash, lighting, and engine bay layout, since it uses factory routing and connectors. Choose universal for custom builds, engine swaps, and cars with heavily modified layouts.
How long does it take to install a universal wiring harness?
Plan on several full days for a first-time installer, more for a car with many accessories. Most of the time goes into planning routes, cutting and terminating wires, and testing each circuit.
Does Hot Rod Hardware carry wiring harness kits?
Yes. Hot Rod Hardware stocks American Autowire universal and direct-fit wiring kits, along with fuses, switches, and grounding kits. Call 507-527-1020 for help choosing a kit or browse the wiring catalog online.
|
Shop Universal Wiring Kits at Hot Rod Hardware hotrodhardware.com/collections/universal-wiring-kits |